Pages

Sunday, March 30, 2014

RUSTIC GRIDDLE SCONES


Do you know why I adore scones? 
(Yes - I know. They are outrageously delicious - but that's not why). 

I adore scones because they make you feel like bona fide royalty. You might be sitting in sweat pants watching F.R.I.E.N.D.S re-runs with your hair sticking up, but pop a buttery, crumbly scone in your mouth - and well - you might as well be queen of the world.

I adore scones because they go so darn well with tea. If a scone and a cup of tea went on the date, I think we'd all agree they should go ahead and get married and have lots of babies - because they are a MATCH MADE IN HEAVEN


I adore scones because they make splendid gifts. They really do cheer people up.


I adore scones because they have endless different personalities - erm - flavors. Chocolate chip? Deliciously old school. Banana walnut? Wholesome and comforting. Oreo? Makes us weak at the knees. If it's out there, it has probably made its way into a scone.


Enter my new favorite recipe - Rustic Griddle Scones. Griddle scones are a brilliant discovery because you can make them in half the time of traditional scones - and they taste twice as good. The secret? 
Instead of spooning the dough out on cookie sheets, this recipe has you bake them in a frying pan in pretty, triangle wedge shapes (much better for dunking in tea). Pure genius.


Ready to get started? 
Roll up your sleeves, don an apron and turn up some Garth Brooks.


Start with your dry ingredients - flour, baking powder, salt, and sugar. Whisk them together. Drop pieces of cold butter into the mixture (they make a great 'thwap' noise) and use your fingers to massage them together, until it resembles a coarse oatmeal. 

Next, pour in your buttermilk - thick, creamy, seductive buttermilk. 

Mmmm. Mix that goodness in.

Turn your dough onto a floured board.

Roughly chop the chocolate. Better taste to make sure it isn't poisonous. Seems responsible. 

Sprinkle on top of the dough, and fold in. This is my favorite part - watching the little flecks of chocolate spread throughout. 

Once mixed, shape the dough into a large circle, and cut in half to make it more manageable. Set one half aside, and keep one on your floured board.

Form the dough into a smaller circle about 7" inches in diameter-ish (don't even think about getting out a ruler, silly - just eyeball it). From there is the fun part - cutting it in slices just like a pizza. 

Arrange your wedges in a circle in a large skillet on low heat. Bake seven minutes on top, seven minutes on bottom, and about one minute turned on each side. This whole process makes me a bit antsy because it smells amazing and you can see all the chocolate getting warm and oozy. But as we know - true genius takes time.

Finally, finally - they're done! Griddle scones should absolutely be served warm (I'll reiterate my melty chocolate argument), sprinkled generously with powdered sugar, and a drizzle of honey. Bonus points for a pretty plate (I inherited this blue and white stunner from my Gram!) <3 Grace
_________________________________________________________________________________

Rustic Griddle Scones 

Adapted from Knead It, Punch It, Bake It by Judith Jones
Makes 16 wedges

2.5 cups flour (I usually do half white, half whole wheat)

2 teaspoons baking powder
1/2 teaspoon salt
1/3 cup sugar
1 stick butter, cut up in small pieces
2/3 cup buttermilk
3/4 cup your choice of add-ins (my favorite are dark chocolate morsels!)

Directions

1) Put the flour, baking powder, salt, and sugar in a medium bowl and mix well.
2) Add the pieces of butter to the flour mixture and use your fingers to massage the butter and flour together, until the mixture resembles a coarse oatmeal. 
3) Meanwhile, start heating a nonstick pan/skillet (the heavier the better) over low heat.
4) Pour the buttermilk into the flour-butter mixture and stir until just moistened. 
5) Turn the dough out onto a floured surface, sprinkle your add-ins on top, and lightly knead.
6) Divide the dough in half and pat each half into a circle about 7 inches in diameter. 
7) Cut each circle into equal wedges, the way you would cut a pizza.
8) Test your skillet by holding your hand and inch above the surface. It should feel warm - not uncomfortably hot.
9) Arrange the first half of wedges in a circle in the pan, leaving space between them.
10) Bake for about 7 minutes on the first side, lifting with a spatula now and then to make sure they aren't browning too quickly.
11) Turn each wedge and brown another 7 minutes on the reverse side.
12) Now, using tongs or a fork, turn each wedge on its side and bake for 1 minute to crisp the edges, and turn onto the other side and bake a final minute.
13) Remove from the pan and bake the other wedges in the same way.
14) Serve warm, sprinkled in powdered sugar and drizzled in honey.
_________________________________________________________________________________

Sunday, March 16, 2014

SO YOU WANT TO BE A LUMBERJACK


Let's be honest - lumberjacks are the original hipsters. Vintage plaid, beards worthy of the frontier, and suspenders? It's no coincidence!

All jealousy for flapjacks and giant blue oxes aside, there's a lot more to lumberjacks than meets the eye. I happen to know this because today - for the first time - I pretended to be one. 

Crunching through the icy woods, Beau and I set out to find a tree to cut down to use for firewood at the farmhouse. 

The entrance to the forest.


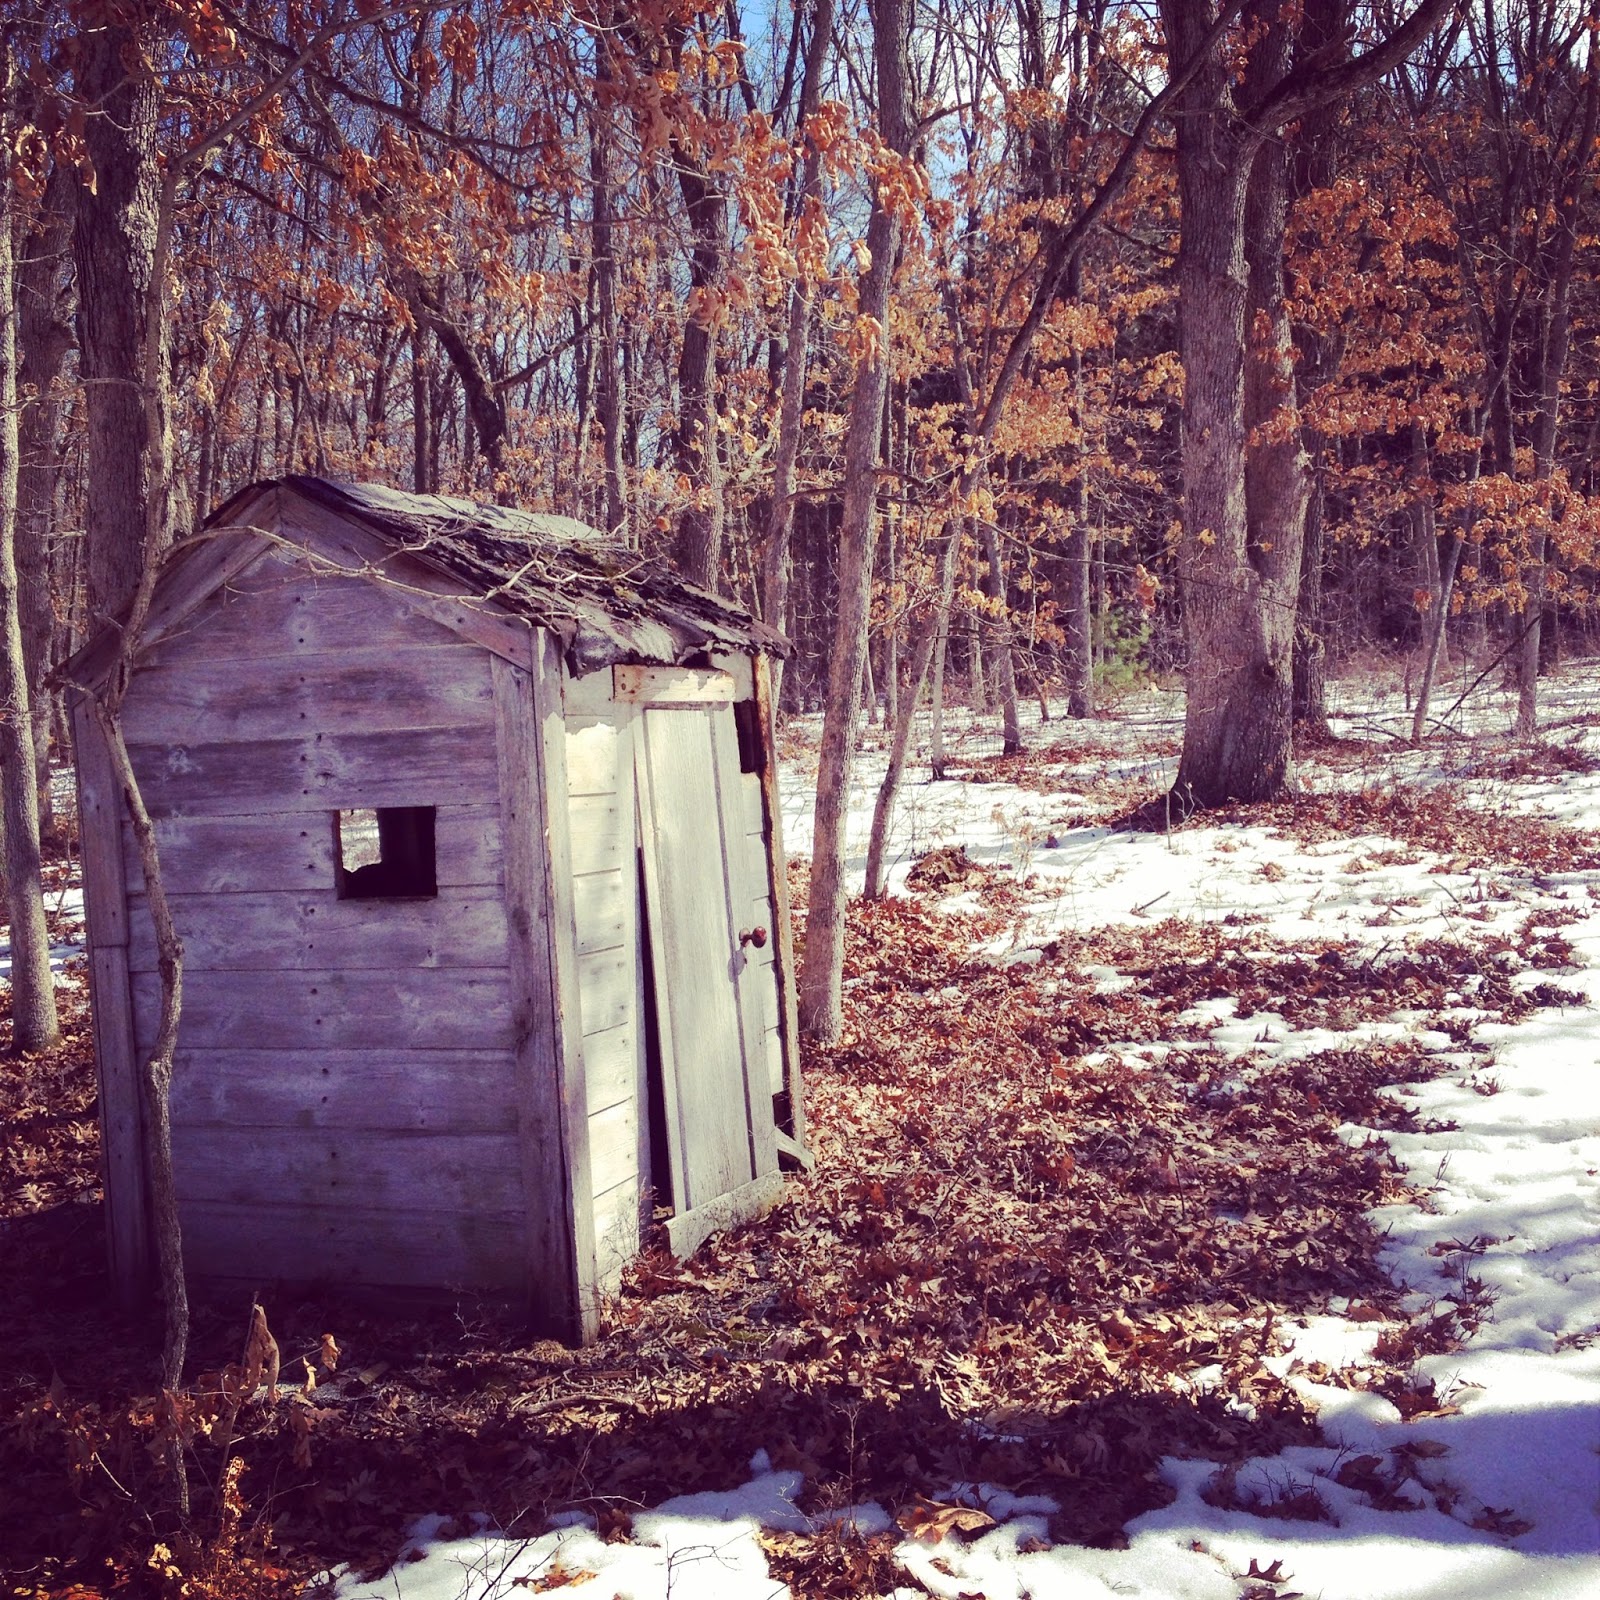
Shanty tucked deep in the woods.


We finally came upon an old oak - dead and leaning. Its once-magnificent presence was fading into the winter landscape, but it was just what we were looking for. Beau acted as the cutter or sawyer with his trusty axe and STIHL chain saw - and I was appointed as the swamper, the person who scampers behind, picking up logs, branches and brush (kind of like an over-excited squirrel collecting acorns).

Beau geared up for sawing.


'CRACKLE.' The woods echoed as the tree tipped down, now separated from its base. I'll never forget the thunderous way the earth shook when the trunk shuddered to the ground - or how still it seemed afterwards, as the tree lay in the quiet chill of the forest. 

We spent nearly four hours bucking, limbing and cutting up the tree (it looked like a sushi roll!) Beau had sawdust in his beard. Twigs somehow found their way into my snow pants. We took a break now and then, sitting on the large rounds from the tree, feet dangling above the ground. 

Can you count the rings?


Beau shows where he made the "face cut" - an angled notch that ensures the tree falls in the intended direction.


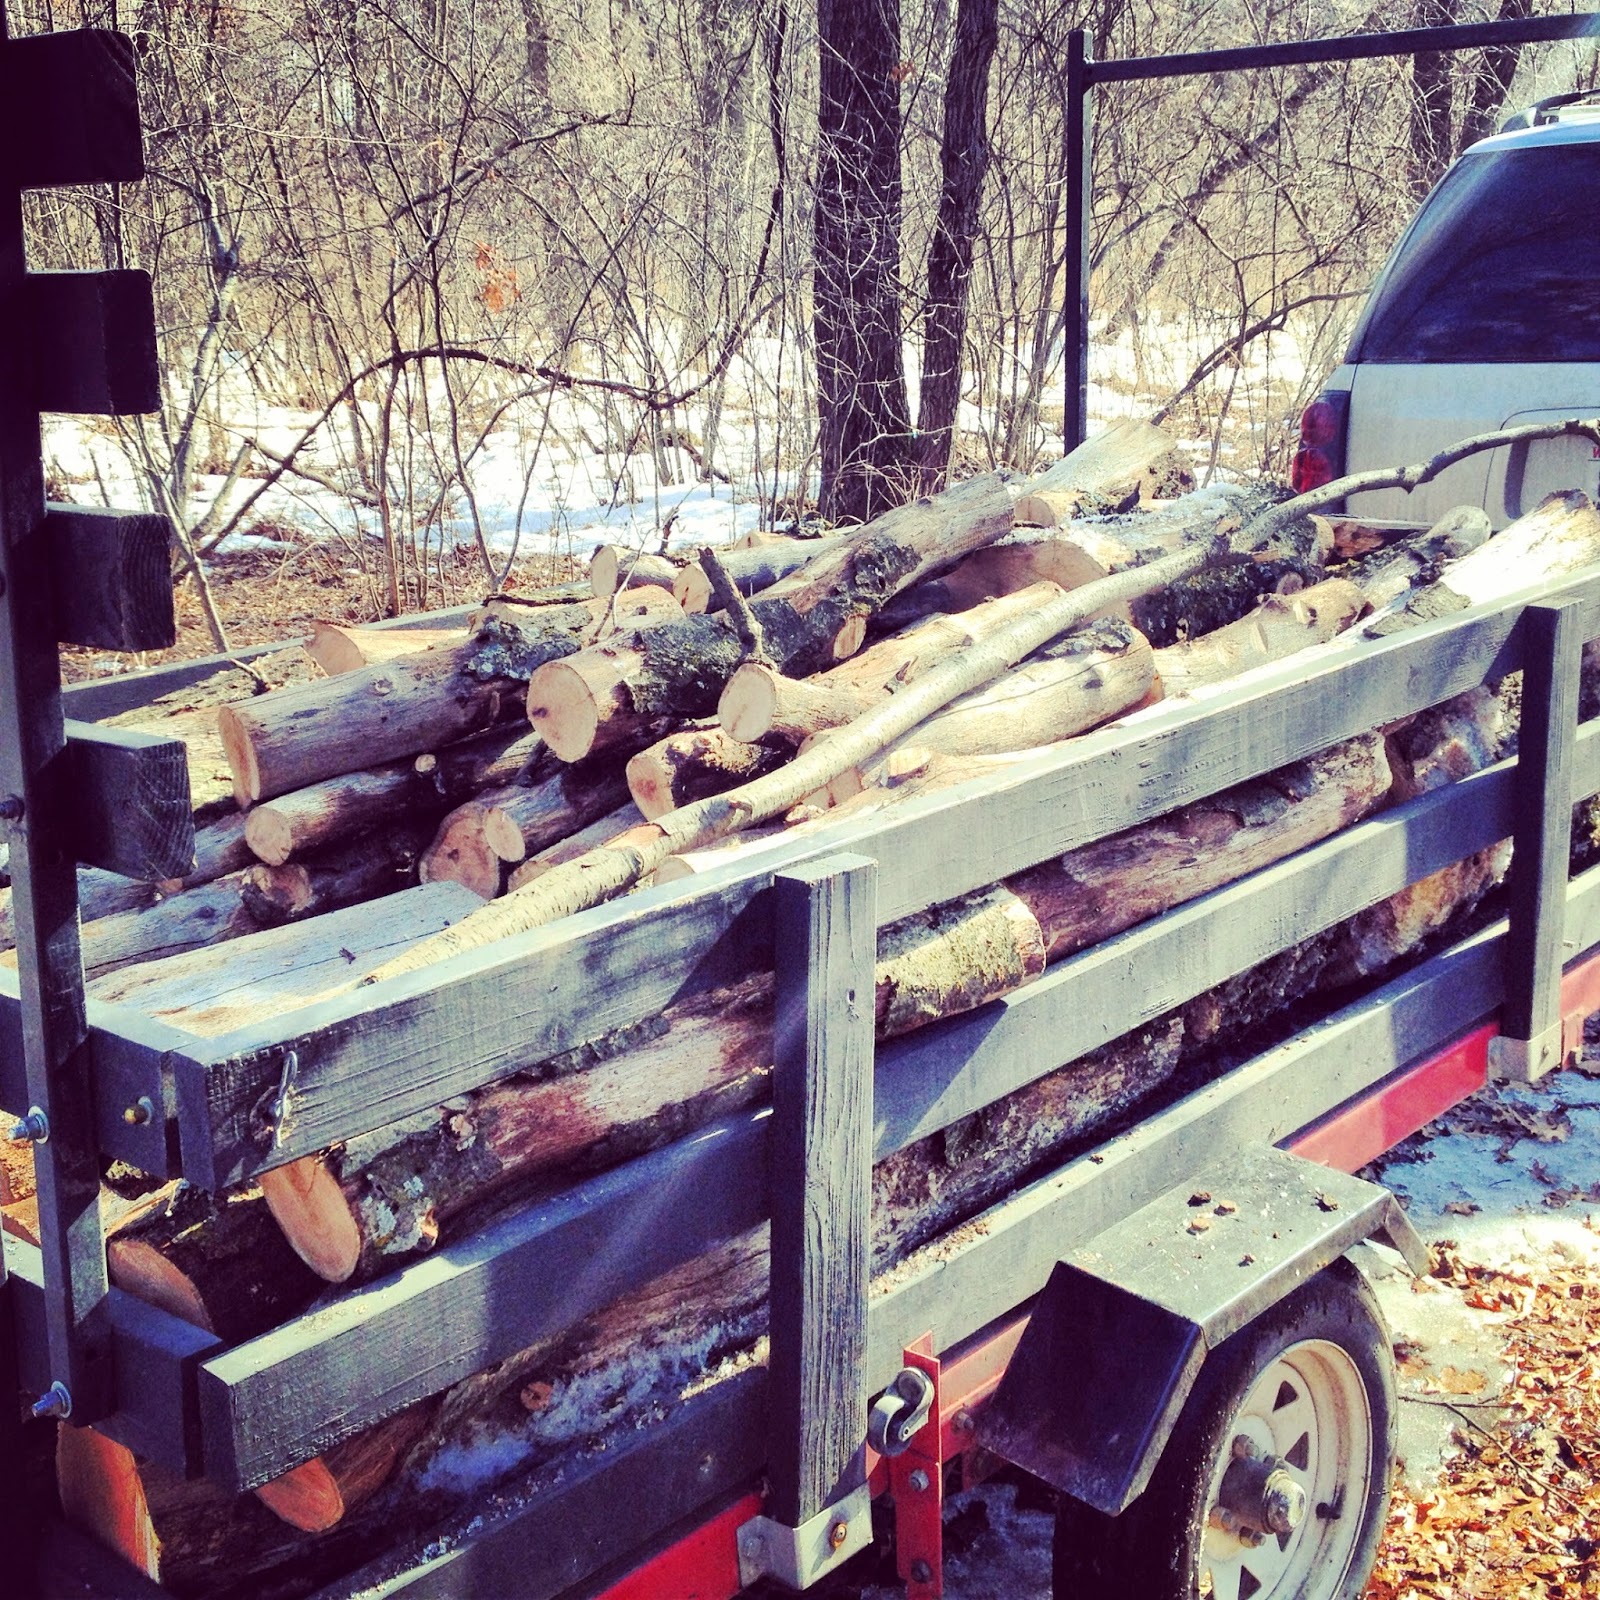
With the trailer full, we headed for home. I kept peeking in the rear view mirror to make sure the logs stayed nestled in their place. We were tired - but it was that deliciously satisfying kind of tired that comes from working outside - the kind that centers you, brings you to a peaceful place, and makes food taste so, so good.

Four hours and 1,500 pounds of logs later...


But the big question left on everyone's minds is how do you know the difference between a hipster and a TRUE lumberjack? I leave you with this hint from Beau (who was in the U.S. Forest Service):

When felling a tree, you typically yell three times - once when you do the face cut, you shout "Face cut, tree falling." When you deliver the back cut, you announce "Back cut, tree falling," and when you deliver the final coup de grace you yell (excitedly) "Tree falling!" 

So - none of this shouting 'Timber' business. <3 Grace

A souvenir from today's adventure deserved a spot of honor at home.